Thanks to all the glorious cream that Josie is giving us on her milk, I thought it would be a great idea to have a go at making butter. As I don’t have any cheese cultures at the moment, making cultured butter to get cultured buttermilk seemed like a good way to go. The process for making butter and cultured butter is the same, except for the initial culturing bit. I was advised to keep a journal to record the failed experiments along with the successes…but of course I forgot to do that and now I am writing this from memory – note to self, when I get a jersey I *must* keep a journal of all recipes!
Cultured Cream: To culture the cream, all I did was skim it from the raw milk, then left it on the kitchen bench for 24-48 hours in a glass jar covered with a paper towel held on with an elastic band. It is summer so it cultured fairly quickly. As it was at room temperature I just started beating it, but for the normal butter from cream that was in the fridge, I let the cream stand on the bench for a little while to warm up a bit.
Step 1: Put the cream into a large stainless steel mixing bowl. Start ‘whipping’ the cream with hand held beaters.
Step 2: Keep beating past the ‘whipped cream’ stage until the cream starts to ‘break’ into little yellow pieces of butter.
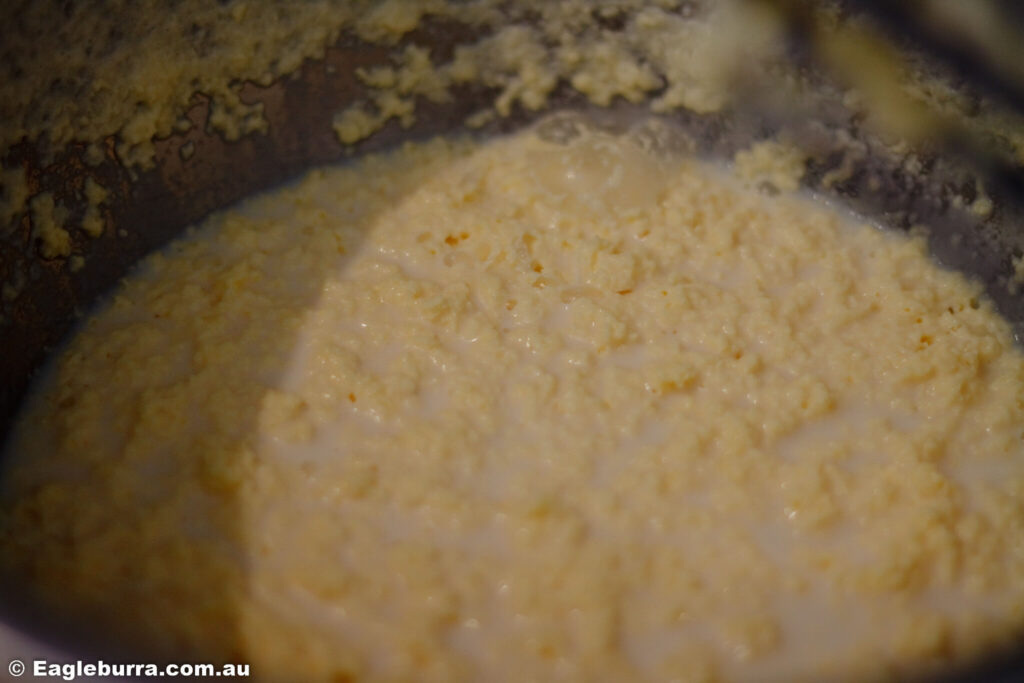
Step 3: The buttermilk will very clearly separate from the butter.
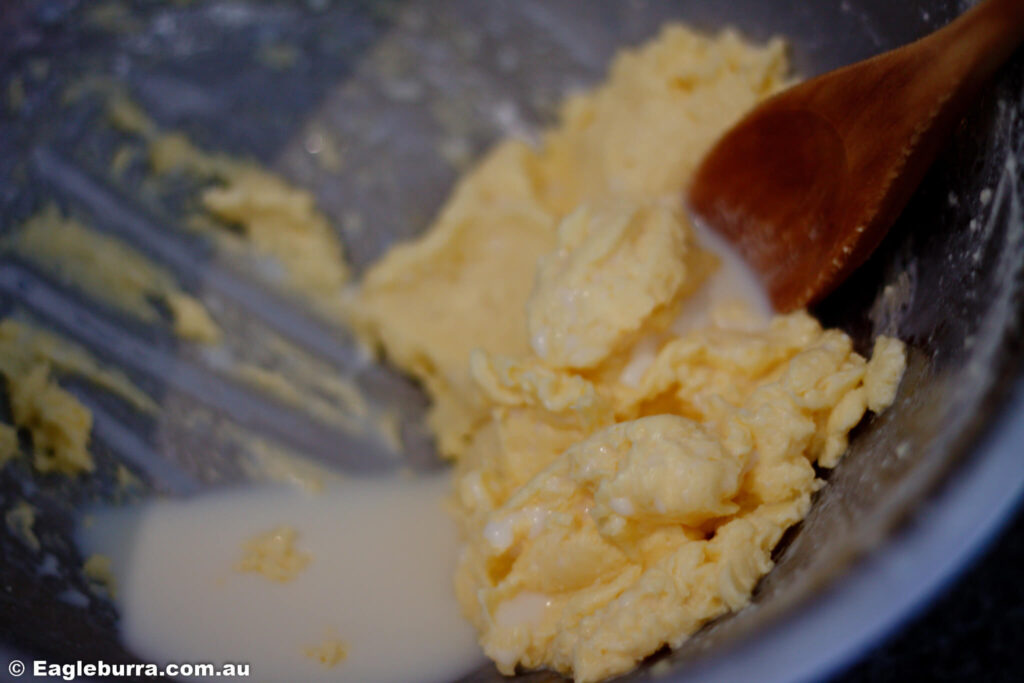
Step 4: Strain the buttermilk out of the bowl, keep beating and straining until all of the buttermilk is removed.
Step 5: Add half a cup of cold water to the bowl and keep beating – this will wash the remaining buttermilk from the butter. (I discarded this, but it could be kept for the chickens).
Step 6: Push the butter into a rough ball shape with a wooden spoon, strain and place in the freezer for a few minutes to firm up (but not harden).
Step 7: Remove butter from the freezer and ‘pat’ it using wooden pats or flat wooden spoons. Keep ‘patting’ until all of the liquid is removed.
Step 8: Sprinkle with a small amount of salt to taste (no iodine or anti-caking agents).
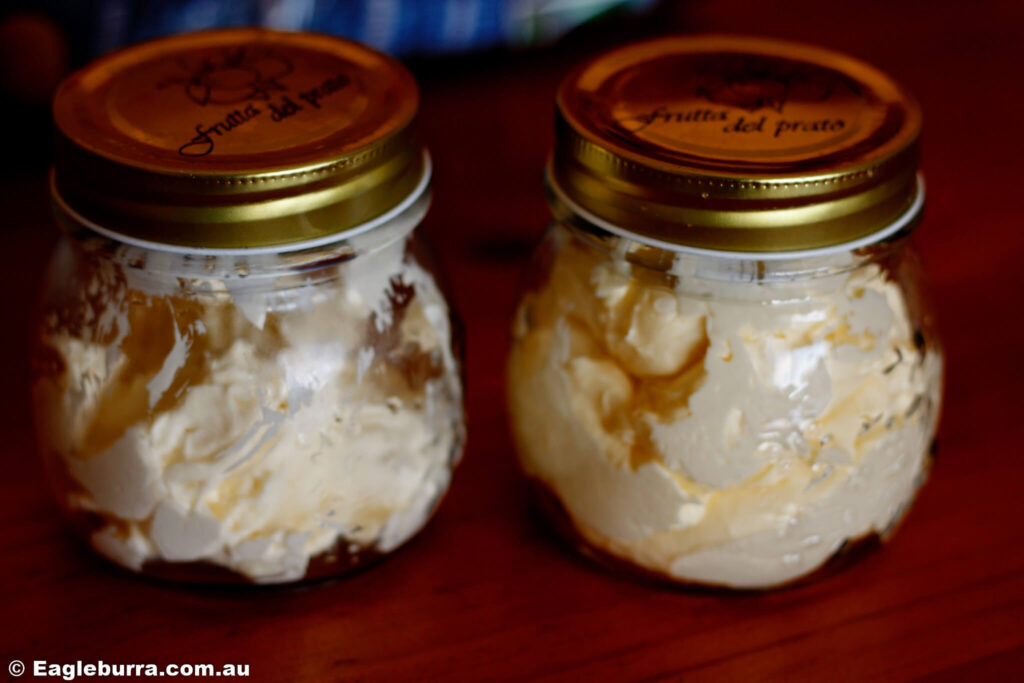
Step 9: At this stage a tiny amount of olive oil can be added to keep the butter spreadable, or it can be rolled into balls, placed on wax paper and frozen. Once frozen the balls can be put into a larger container back in the freezer and won’t stick together.
Personally, I prefer the taste of cultured butter, but the rest of the family can’t tell the difference. Homemade butter on homemade bread with homemade jam – absolutely devine!